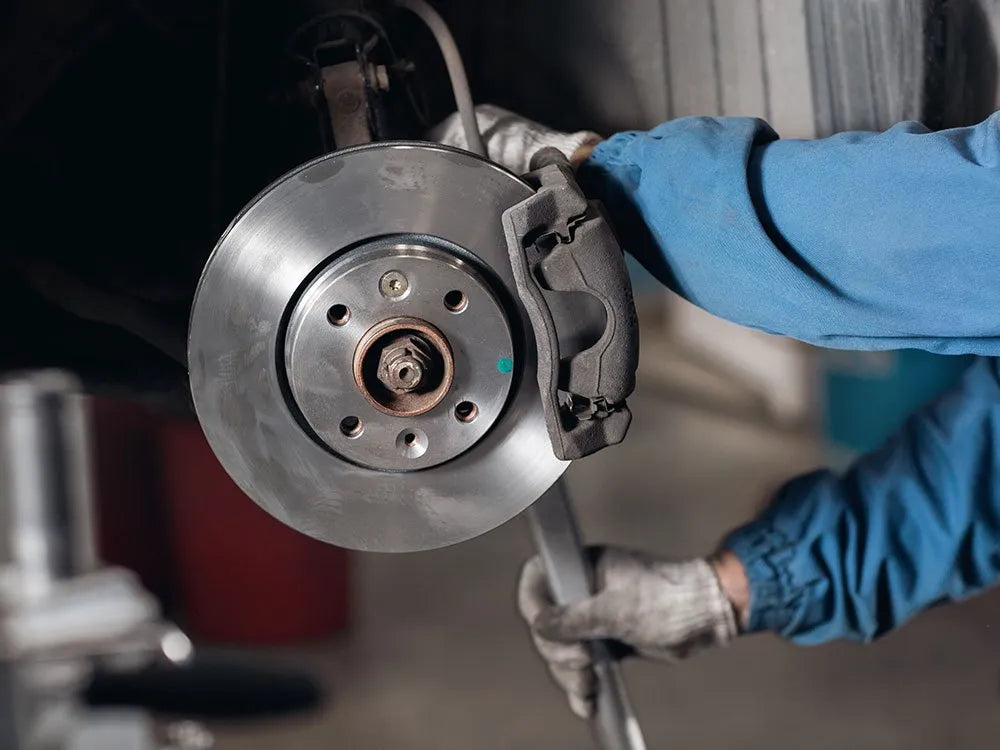
Is your car not stopping properly or do you think you need to install new brake pads. There's no need to visit a mechanic since you can do it all yourself. Read on to discover the preliminary steps to changing brake pads and the process itself.
Do your brake pads need changing?
Here are some signs for to replace your brake pads:
- The brake pads are emitting a distinct, metal scraping sound while the car is on the road.
- Brake dust is accumulating in the wheels.
- When observed through the wheel, you see the brake pads have become thinner than usual.
- Worn out brake pads send out vibrations in the brake pedal as you step on it.
If you spot these signs, you should replace the brake pads before they cause an accident. Timely replacement and maintenance of these brake pads ensure the safety of yourself and your loved ones while on the road.
Necessary Tools
Before replacing your brake pads, make sure you have the right tools. The process requires:
- Wrenches
- Floor Jack and jack stands
- Large C-clamp
- Wire brush
- Pliers, screwdriver, hammer
- High-temperature lubricant
Finding the correct brake pads for your vehicle is also a necessary preliminary step (consult your vehicle's owner manual for additional information). After gathering the hardware and tools, find a suitable place to start your work. You should have a flat-leveled and solid, sturdy floor.
The Replacement Process:
- First off, loosen the lug nuts, put the car up on the jack, remove almost half of the brake fluid from the reservoir and dispose it. The jack should be on the wheel you need to work on, and the rest of the wheels must be blocked. Next, remove the lug nuts and then the wheel.
- Remove the calipers next. If they are fixed, remove the caliper mounting bolts first. However, make sure the pads do not slip out from behind the caliper. If they are floating, remove the guide pins or the two separate mounting bolts. Then remove the caliper from the rotor.
- If your vehicle has sliding calipers, use a retaining clip or a support key to hold them. Now, you can easily unscrew and remove the calipers.
- Finally, you can remove the brake pads, but be sure to push back the piston first. The method of removal will depend on the type of caliper. The last part is the installation of the new brake pads.
- Replace the caliper and any bolts, keys, screws, or pins that came with it. In the end, lightly lubricate each metal surface that slides and refill the master cylinder with new brake fluid.
Warnings and Precautions
- Do not breathe in asbestos that might be in brake lining.
- Never work under a vehicle that you only supported with a jack. Make sure to set the parking brake, block any wheels on the ground, and get appropriate jack stands rated for your vehicle.
- Handle brake fluid carefully as it can dissolve the paint.
- Make sure not to get oil or grease on pad linings when removing the brake pads.
- Use correct hardware as mentioned in your car owner’s manual to tighten the bolts to factory specifications
This brief guide should be enough to get you started with hands-on vehicle maintenance. However, do your own research and complete all the steps accurately and with caution to minimize any risks.

